
Don’t wanna Factory Reset?
Skip to Device Owner with PC Setup
Skip to Device Owner with Wireless ADB
SETUP DEVICE OWNER WITH QR
To get started, follow the steps below:
- Backup your device with your Google Account
- Important: You can’t restore a backup from a higher Android version onto a phone running a lower Android version. Learn how to check and update your Android version.
- Samsung SmartSwitch will no longer work with Device Owner.
- Important: You can’t restore a backup from a higher Android version onto a phone running a lower Android version. Learn how to check and update your Android version.
- Factory Reset your device
- On the device’s first activation screen, tap somewhere 6 times:

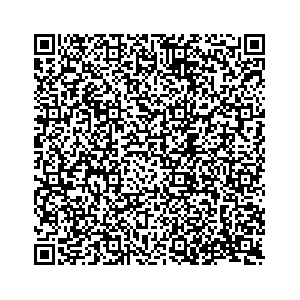
- After tapping the activation screen 6 times, your camera will open. Scan the QR code below: DECEMBER 2025 Google stopped letting any app use the QR code method and you must apply to use it. We have applied and are waiting to hear back. Until then it will NOT WORK
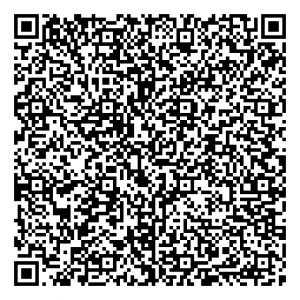
and for SHIELD RED
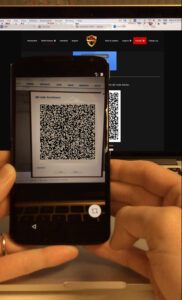
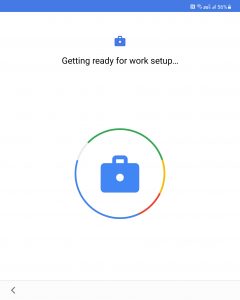
After it successfully scans, follow the steps on the screen to setup your work profile:
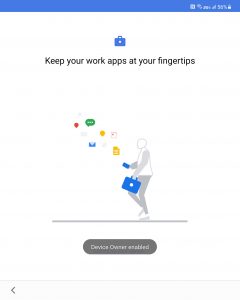
Follow the steps on the screen to install Alliance Shield.
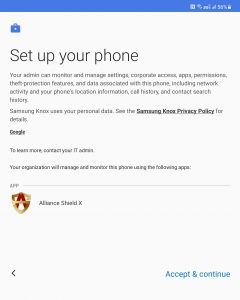
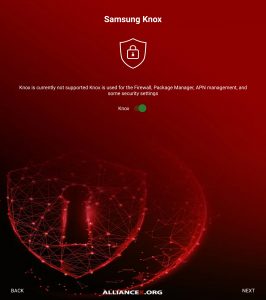
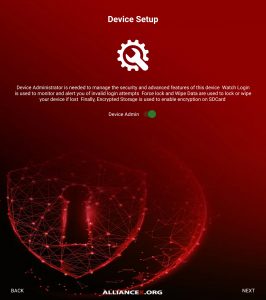
Follow the steps on the screen to enable Device Admin, Knox, and to name your device within Shield.
- Restore your device (not from Samsung SmartSwitch)
- Null packages
SETUP DEVICE OWNER USING ADB AND A PC
First, download, install and configure the Android Debug Bridge (ADB) binary
-
- With a new (or factory reset) Android device, go through the setup wizard WITHOUT adding a Google account. If you accidently added an account, simply remove the account from the Settings app once you finish the setup wizard.
-
-
adb start-server
-
-
- Go to Settings
- Go to “About device” (Might be named slightly different)
- Click the “Build number” field 7 times. This will turn on “Developer options”
- Go back to Settings
- Go to “Developer options”
- Scroll down and enable “USB debugging”
-
- Your device might prompt you with a trust dialog. Click accept.
- Your device might prompt you with a trust dialog. Click accept.
-
-
-
ADB shell dpm set-device-owner com.rrivenllc.shieldx/.receivers.DeviceAdmin
-
ADB shell dpm set-device-owner org.alliancex.shieldx/.Receivers.DeviceAdmin
-
-
SETUP DEVICE OWNER USING WIRELESS ADB
If you have Android 11 and “Wireless ADB” available in Developer Options, you can use that to set Device Owner.
- Install either ShieldADB or LADB to perform ADB commands on your local device wirelessly
- Enable Wireless ADB in Developer Options
- Remove ALL accounts from phone. Secure Folder counts as an account. You only have to do this once, and can add them back after setting Device Owner
- NOTE: Facebook, Facebook Messenger, and Instagram are all considered [1] separate account. Please remove ALL accounts to proceed with setup.
- Open Shield ADB and push command (first one Play Store Shield, second Shield Red):
-
dpm set-device-owner com.rrivenllc.shieldx/.receivers.DeviceAdmin
dpm set-device-owner org.alliancex.shieldx/.Receivers.DeviceAdmin
-
- Shield should be set as Device Owner after sending the above command
- Re-add accounts
If you’re still having issues with any of the above methods, tap the Live Support button at the bottom of this page.